
I found the kit at a local craft store, but if you can't find one, don't fret. For the blocks, you need two wooden cubes of equal size and three rectangles that are as long as both cubes are together. That means, these can be a big as your imagination! I've seen them where the cubes were 4 inches on each side and the rectangles were 8 inches long!

Once you have your blocks, you'll also need scrapbook paper, paint, and some way to put the numbers and months onto the blocks.
Start by painting all the wooden pieces. I even painted the little housing unit for my calendar pieces (it came with the kit).

Trace the cube onto the scrapbook paper to get 12 squares and cut them out.

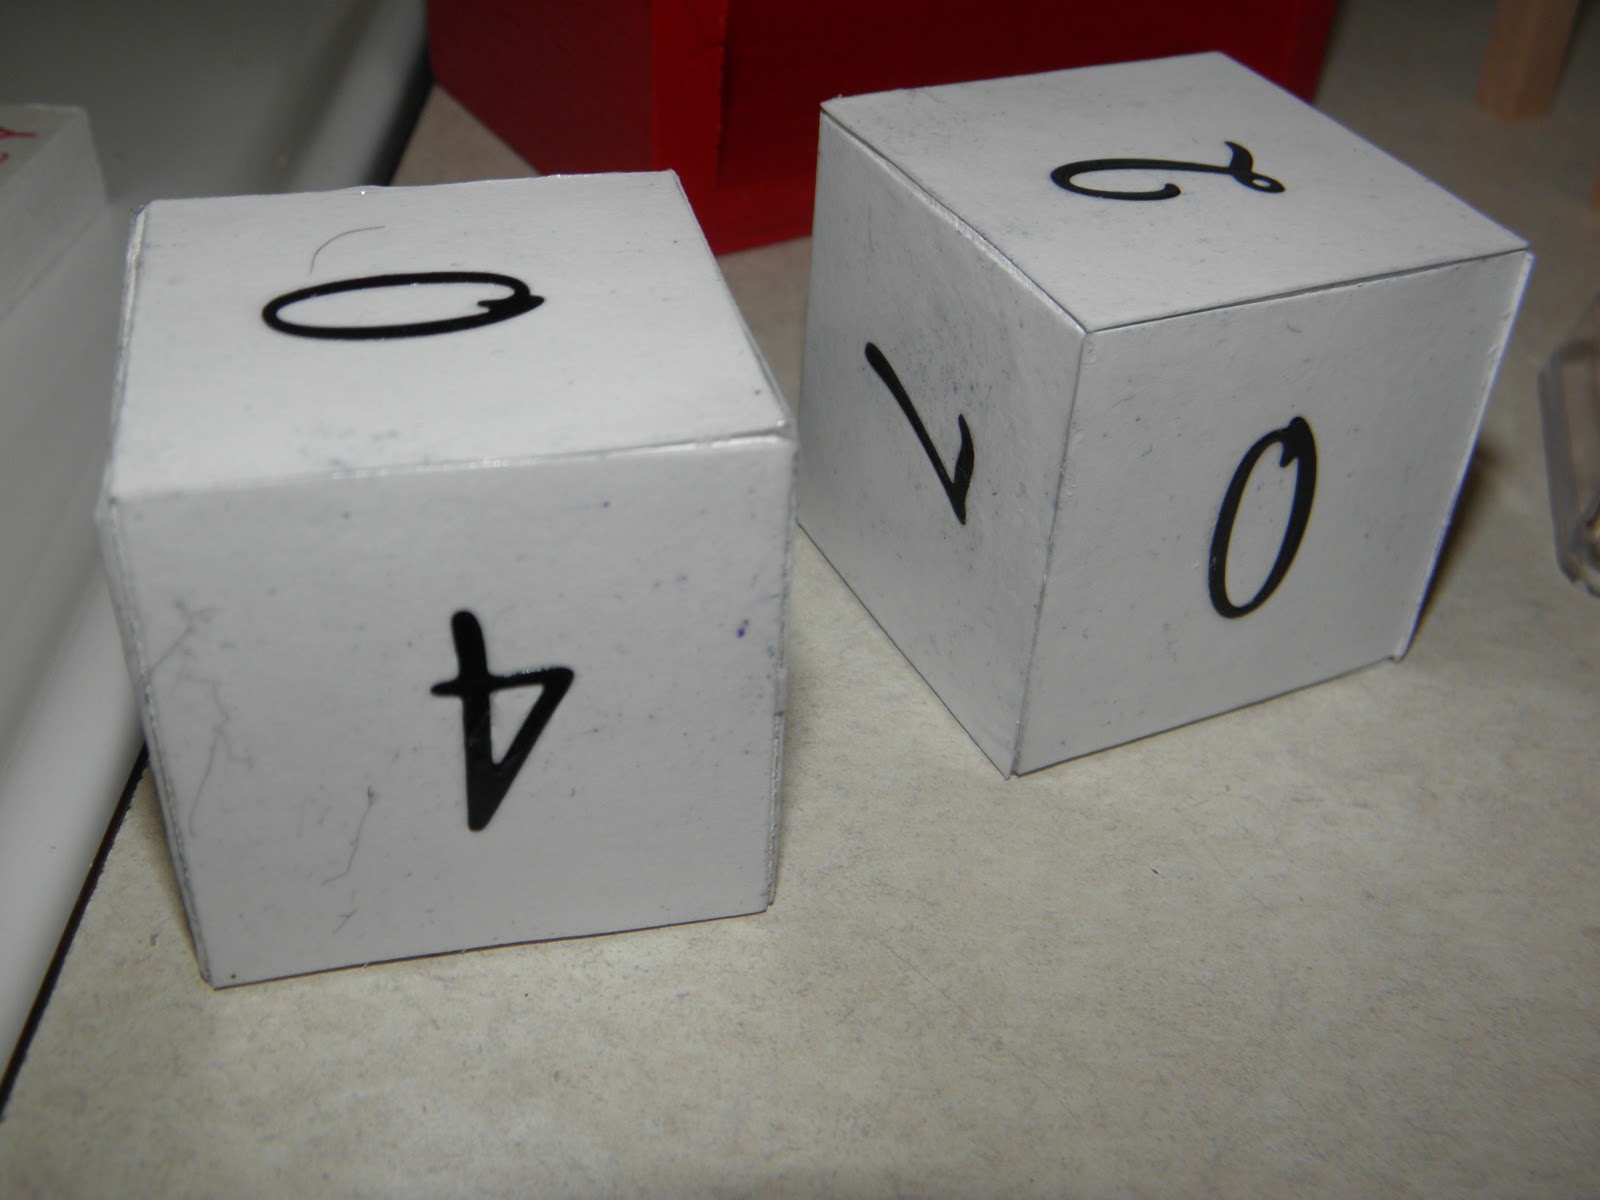
Using mod podge, decoupage the paper onto the cubes. Place the numbers on top. (I put on a glaze coat to make it shiny, but this isn't necessary.) On one block, put the numbers 0, 1, 2, 3, 4, 5 and on the other put 0, 1, 2, 6, 7, 8 (the 6 can be used as the 9 as well, so make sure it's not on directional paper).
I decided to stamp the months onto the rectangles because I had a hard time finding stickers I liked in the size I needed. I found the stamps and ink in the dollar bins in the craft section of Wal-Mart. If you decide to stamp, do this directly onto the wood. I tried to stamp paper then decoupage it onto the rectangles, but the ink smeared.

Place the blocks into the holder (if you have one) and set out to display!

No comments:
Post a Comment