Search This Blog

Monday, January 16, 2012

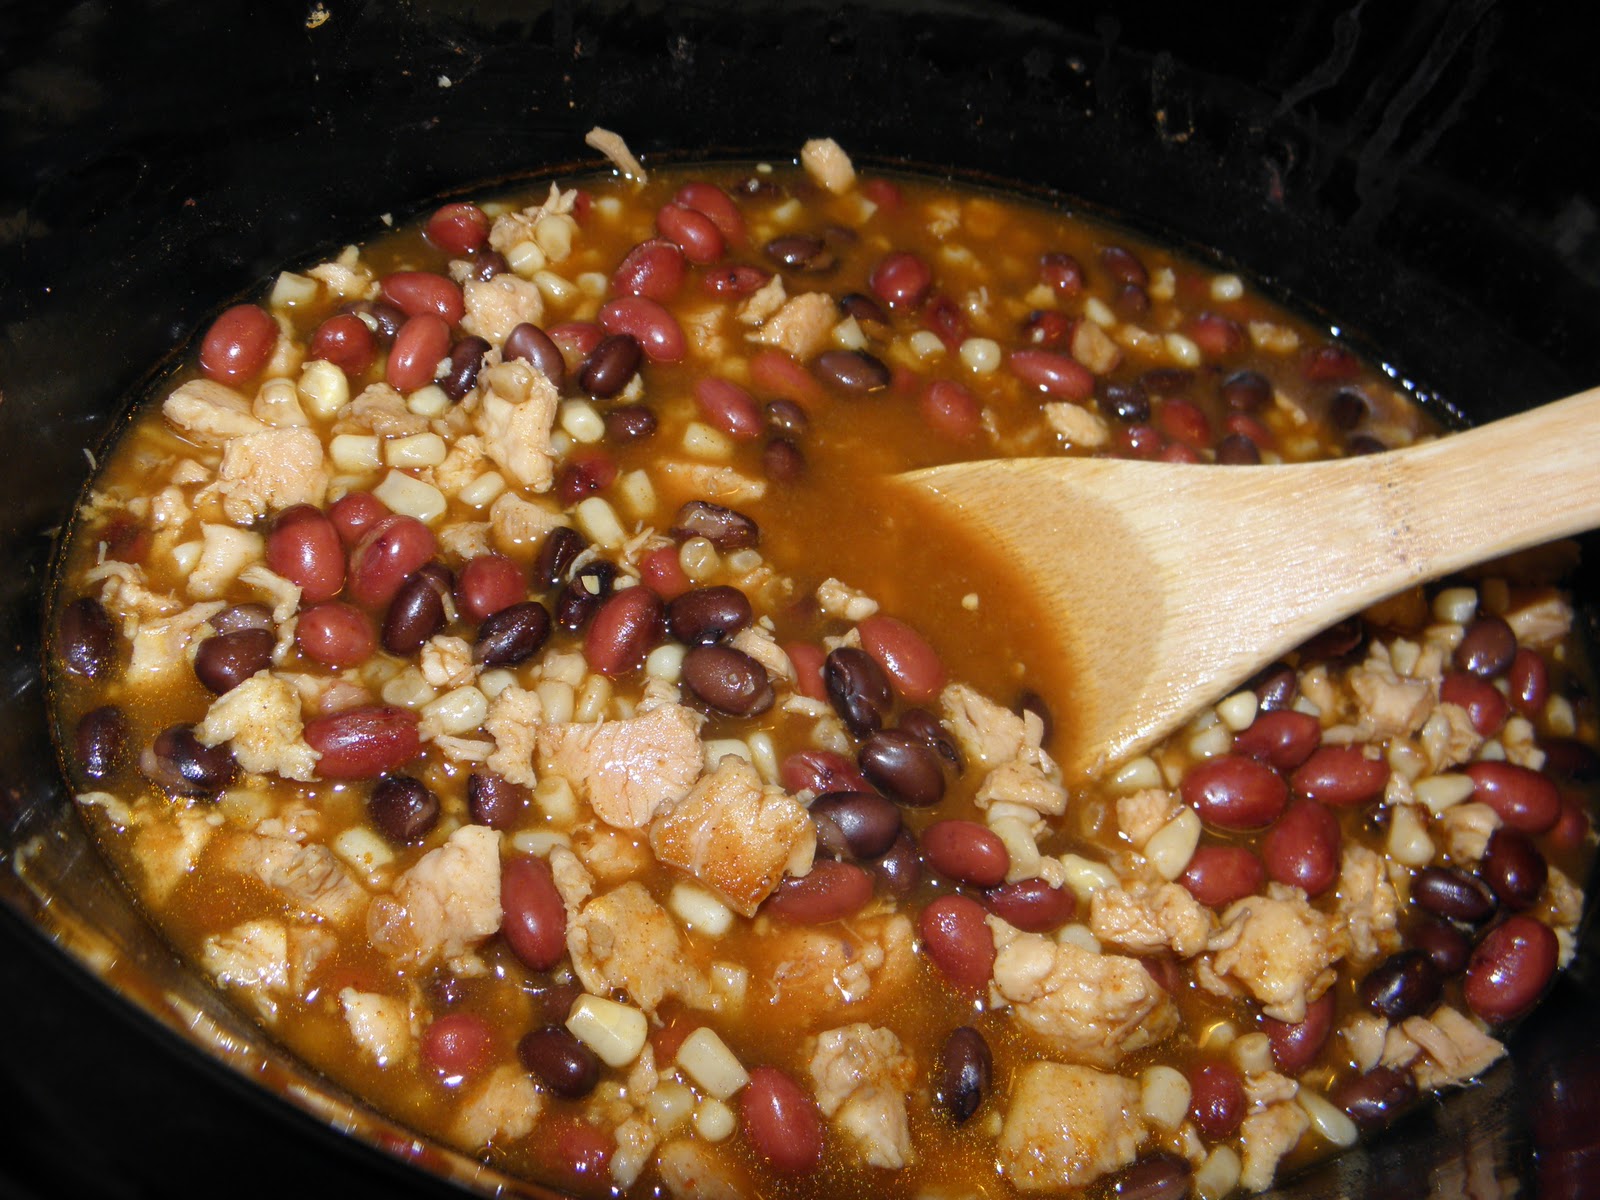
Diversity Day Soup

Whether you call today Civil Rights Day or Martin Luther King, Jr Day, today is a day for celebrating what makes us all different yet all the same.
Source--Isn't he inspiring?! 
If you're a nerd (like your's truly), here's a little history for ya. My friend Torrie was nice enough to share a recipe that combined foods of all colors and I thought it was appropriate for today.

Needed:
1 can black beans (drained & rinsed)
1 can red kidney beans (drained & rinsed)
1 can white corn (drained)
1 large or 2 small cans chicken (drained)
1 can chicken or veggie stock (drained)---Just kidding. Wanted to make sure you're paying attention.
1 packet taco seasoning (or 1/4c if you're using something like in the photo)

Add everything to a slow cooker & cook on low for 6 hours or on high for 3. You can also do this on the stove top and just heat through, but the chicken won't break up as well and the flavors won't have time to really blend.

Yum!
Okay, so this picture doesn't look much different from the one
before, but I promise this is the end result. Also, the
chicken breaks up quite easily once it's cooked to give it a nice
texture. It may need a little salt though, depending on your taste.
Top with sour cream, cheese, corn bread, crackers...whatever your heart desires! I won't judge.

Friday, January 13, 2012

French Toast

I love breakfast foods! It's my specialty :) My French toast is thebomb.com. Just saying. Not bragging, just stating a fact ;)

Needed:
French bread
2 eggs
1/2c milk
1/2tsp vanilla flavoring
1/4tsp coconut flavoring (just go with it)
1/4tsp cinnamon
1/4tsp nutmeg
Whisk the eggs, milk, flavorings, cinnamon & nutmeg together in a shallow dish.
Cut the bread into 1-inch thick slices. Quickly dip the bread into the milk/egg mixture and flip to coat both sides.
Cook until brown on both sides.
Top with syrup. Want to make it banging too? Mix 1/4c bottled syrup with 1/4tsp each vanilla & cinnamon. Makes it yummy!

Somehow my pictures were deleted, so sorry!

Wednesday, January 11, 2012

Valentine's Day Wreath

I don't know about you all, but I feel like I just right out of one holiday and straight into another. Time to prepare for Valentine's Day! I have a hard time finding anything suitable for 2 (supposed) adults to decorate for V-Day. Most things I find are paper-based or child like. Not that either are a bad thing, it's just since we don't have kids, I want to keep things a little more grown-up. I've been seeing many yarn and/or felt wreaths floating around on pinterest and decided to see how difficult these things can be. I like the way mine turned out:


You'll need:
a plain Styrofoam wreath
yarn
felt
glue gun (low temp works just fine)
Start by putting a drop of glue onto the wreath & placing the end of the yarn on top.
Get to wrapping! I found that cutting the yarn into pieces about a yard long helped.
This takes a while. This is what I was left with after about 15  minutes of wrapping:
I did place glue at random intervals to keep the yarn from sliding around on the wreath too much. After completely covering the wreath in yarn, I cut hearts out of felt and glued them on top. I took a length of yarn & used it to hang the wreath.
Stay tuned the week before Valentine's for a series on candy making: Sweets for your sweetie!

This is also party of a link party

Monday, January 9, 2012

Resist Dyed Shirt

I think everyone in some art class did the dye job where you use wax to make a design then dye the fabric. Once the fabric is dyed & dries, you stick the fabric between pieces of newspaper & iron the wax out. It's called resist dying and the results are similar to this:
Source
There are several techniques out there that do not require the use of wax. You can also use glue to create the resist. You'll need a shirt, some dye, and gel glue. I repeated this same technique using liquid dye instead of the powder. The powder created some light & dark areas, as well as some splotches where the powder didn't dissolve. The liquid created a more uniform dye job. It depends on the look you're going after as to which one you should use.
Wet the cloth with cold water. Place a water-proof barrier between the two layers. I used the lid to my laundry basket.
Use the glue to draw pictures or write a quote. I didn't bother taking a picture of this because the glue was clear and you couldn't see where I had written anyway. Let the glue dry then fix your dye bath. If you're using powder, use cold water. If you're using the liquid, use hot. Just read the directions on the package. Remember that the fabric will turn out a couple shades lighter than what the dye bath is.

Once dyed, rinse with cold water until the water runs clear.
Obviously not clear yet.
Wash & dry as normal. I wash & dry it by itself just in case some more of the dye comes out during the process.

The quote is a "modified" one from Audrey Hepburn. It says, "I believe in manicures. I believe in pink. I believe happy girls are the prettiest. I believe in kissing...alot. I believe in miracles."

Friday, January 6, 2012

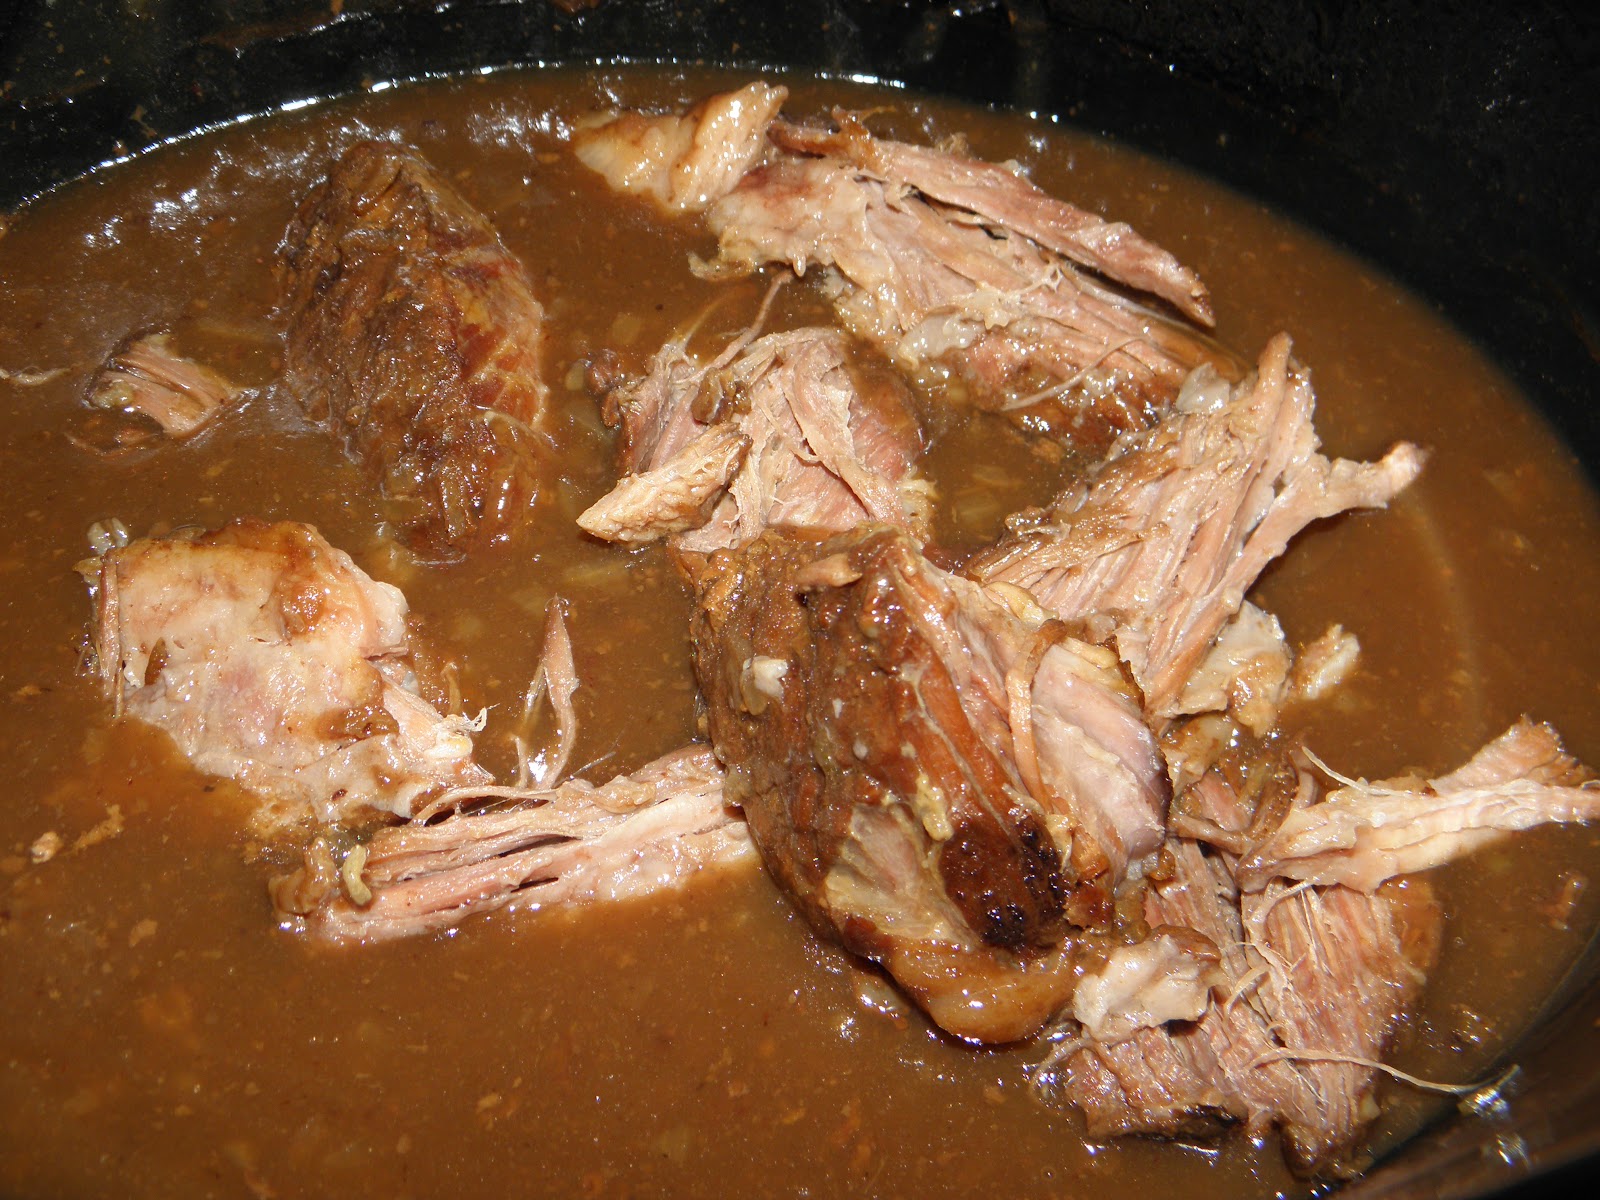
Cranberry Roast

I grew up not liking roasts. I don't know why. I think it's because the ones I've had before were dry. A little more than a year ago we had dinner with friends and they served roast. This roast was delicious! I loved every bite. I stole their recipe...shhh!

Needed:
1 pack dry onion soup mix
canned cranberry sauce
roast (this one was about 1.5lbs)
1c water
2Tbsp corn starch or flour (not pictured)

Sprinkle the soup mix in the bottom of your slow cooker & place roast on top. Flip the meat so that it's coated. Break up cranberry sauce. Put in the sauce & water.

Cook on low for 6-8 hours or on high for 3-4.

Turn slow cooker off. Take roast out of slow cooker. Create a roux by whisking the corn starch with some of the sauce left in the slow cooker.

Pour the roux in the slow cooker & whisk it with the remaining sauce. Slice meat & place back in sauce.
Honestly, the meat is so tender, you don't have to cut it with
a knife. This was the result of trying to pick it up from the plate
with a fork!

Delish!!

Wednesday, January 4, 2012

Hand Towels

For Christmas, my boss gave us all modified hand towels. I really liked mine, but because it was Christmas themed, it's not something I can keep out year round. I decided to make a couple myself so I can have it out no matter the time of year.

Start with a hand towel, a hot pad, and a button.
These towels and hot pads came in a set with an oven mitt
as well for only $6 at Wal-Mart.

Find the center of the hot pad and hand towel. Lay the hot pad on the hand towel so that the center lines meet up.

Sew the hot pad onto the hand towel.

Sew a button onto the side of the hot pad that does not have the loop. Put the loop on the hot pad around the button to hang onto the handle of your oven.

Easy peasy!

Monday, January 2, 2012

Fabric Rosettes

I had help from a friend on these. I've seen them everywhere, but I didn't know how to make them until Torrie dropped by one day to help me do some baking. She's apparently a pro at them. They're easier to make than I thought they would be too!
Can you believe I still have some of that fabric left?!
You'll need strips of fabric cut 2 inches in width.

I used 2 old t-shirts left over from my scarf making experience & the fabric left over from covering my frame & modifying another shirt.
If you decide to use t-shirts too, open the loop by getting rid of one side seam.
The pretty nails are hers.
If you want flowers of the same size, cut all the fabric strips to the same length. Fold one end in half & glue. If you have a low-temp glue gun, this is the time to pull that bad boy out. I can't tell you how many times I burned my fingers because all I had on hand was a hi-temp glue gun.
Using that same end, make a little ball .
While pulling & twisting the fabric, wrap the strip around the ball you just made.
Pull & twist.

Then wrap.
You will definitely want to put drops of glue at different intervals to keep the flower together.
Keep up with the pull, twist, & wrap motion until the last 2 inches of fabric.
Pull that last bit of fabric to the back & glue down.
You can cut any extra fabric visible off once it's hardened.
Also, if the stray threads bother you, you can trim those down too.
Once all your flowers are done (I chose to do 3), glue them all down onto a piece of felt.
Once the glue is hardened, trim the felt so that it can't be seen from the front. Attach a strip of felt onto the back.
Make sure the strip lays as flat as possible. I've got a trick to
show you!
If you just use the strip of felt, you can slide the headband out & slip a safety pin through to make a broach!

That way I can use the flowers as either a broach or headband accessory! Go me! And now you can too! Go you!