Search This Blog

Showing posts with label Valentines. Show all posts

Friday, February 10, 2012

Sweets for Your Sweetie: Lemon Lime Cupcakes

You could make this into a cake, but cupcakes are easier to handle and they help with portion control. I mean you still have to exercise some self-control, but it's easier than if you cut your own slice of cake.
This is not portion control.
You'll need: 
cupcake liners
box lemon cake mix
box lime jello mix
jar frosting
2Tbsp lemon juice
eggs, water, oil according to cake mix instructions


Preheat oven according to cake mix box. Prepare cake mix according to box, but also include lime jello mix.

Pour batter into cupcake liners. Bake according to cake mix box.

Whip frosting with lemon juice. I added a bit of yellow food coloring.

Spread onto cupcakes.

Enjoy!--The frosting can be dyed red, but you risk a Christmas-y look.

Wednesday, February 8, 2012

Sweets for Your Sweetie: Butterfingers

I have a weakness: the combination of peanut butter and chocolate. I can't resist it! Butterfingers are probably the worst though. I found a recipe from Tasty Kitchen that is so easy that I might actually make these again. And again. Then probably once more just for practice.

You'll need:
9 oz candy corn
9 oz peanut butter
bag of milk chocolate chips
Melt the candy corn in the microwave in 30 second intervals. You want it smooth & a little runny. Stir in the peanut butter and mix well. Pour into a lined 8x8 pan.
Pop in the freezer for about 20 minutes then cut into bite-sized pieces (I just eyeballed it). Melt chocolate in microwave in 30 second intervals until smooth. Dip the peanut butter pieces in the chocolate then place on wax or parchment paper. Put in the fridge for about 10 minutes or until set.
I'm not that great with dipping things into chocolate. In fact, I kind of get it everywhere and end up with a giant mess. I'm kind of cool with that. It ensures my food looks homemade :)

Monday, February 6, 2012

Sweets for Your Sweetie: Toffee

I love toffee! I usually make it around Christmas, but since I love it so much, I thought it would appropriate to start our Sweets for your Sweetie series with this.

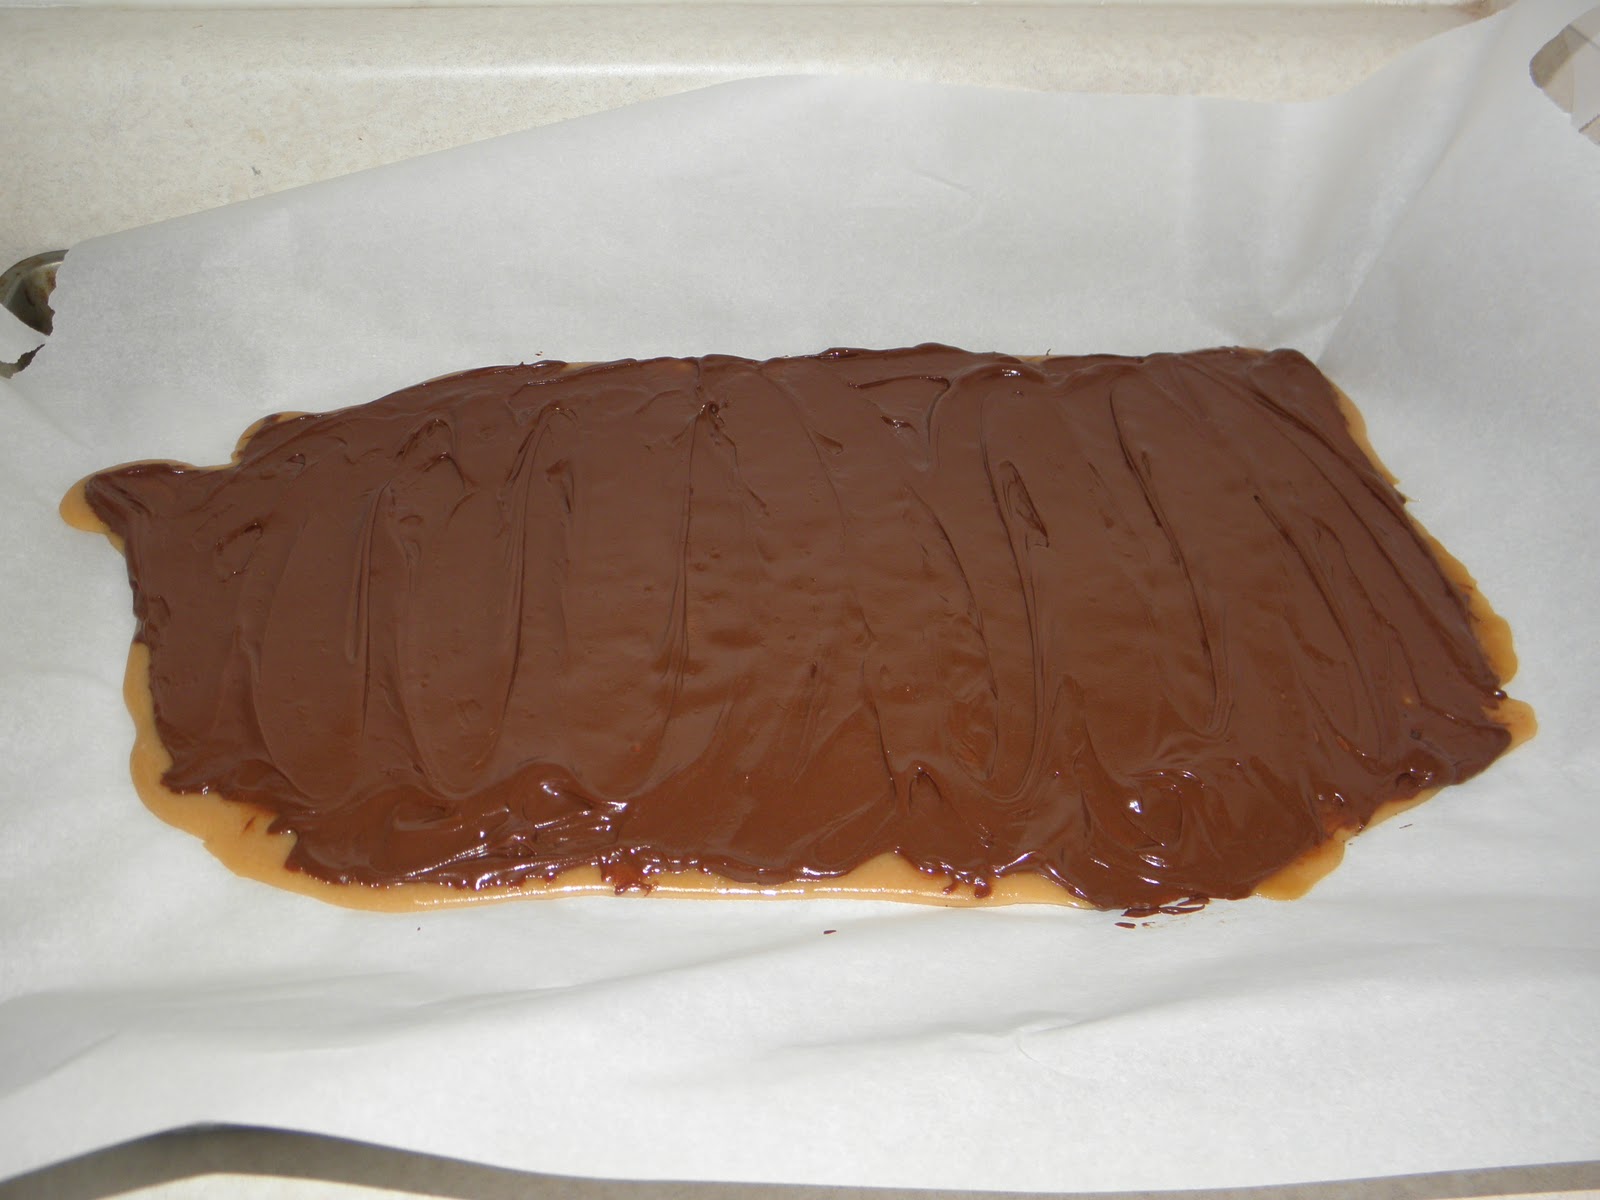
Doesn't it look divine?
Toffee scares some people, but I'm going to walk you through this. It's so much easier than you'd expect and I'm here for you.

Needed:
1c sugar
1c butter
3Tbsp water
semi-sweet chocolate chips (I'll explain amount later)
cookie sheet lined with wax or parchment paper
Pour sugar, water, and butter into a heavy-bottom sauce pan. Cutting the butter into chunks helps with the melting process.
Heat on med-high and stir constantly. Even when it looks a little scary like this:
keep stirring. Don't scrape down the sides of the pot. Just sit there and stir. It will get foamy and that's okay. It will eventually start to turn colors. You want a nice amber color. Once it starts to turn colors, it will turn amber rather quickly. Pour onto the paper-lined cookie sheet. Do not scrape the sides of the pot! Scraping during the cooking process or while pouring it out will cause the toffee to crystallize and it is not a pleasant thing. You may have to help it along after it's poured by spreading it out a bit.
Let it sit for about 10 minutes. While it's still warm, sprinkle chocolate chips on top. You really have to eyeball it and it depends on how much chocolate you want on the finished product. I like a little more toffee than chocolate. My husband likes a little more chocolate than toffee. When I make it to give away it pretty much looks like this:
Let the chocolate sit for about 5-10 minutes. You want the chocolate to melt. You can tell it's ready when the chocolate looks shiny. When it's melted, spread the chocolate around with a butter knife or spatula. If it needs a little help, place the pan the oven or on top of a running dishwasher. The oven will help trap the heat from the toffee and the dishwasher will help keep it warm.
Let sit for a few hours. I usually make this right before bed then let it harden overnight. Break into pieces then enjoy! 

Wednesday, January 11, 2012

Valentine's Day Wreath

I don't know about you all, but I feel like I just right out of one holiday and straight into another. Time to prepare for Valentine's Day! I have a hard time finding anything suitable for 2 (supposed) adults to decorate for V-Day. Most things I find are paper-based or child like. Not that either are a bad thing, it's just since we don't have kids, I want to keep things a little more grown-up. I've been seeing many yarn and/or felt wreaths floating around on pinterest and decided to see how difficult these things can be. I like the way mine turned out:


You'll need:
a plain Styrofoam wreath
yarn
felt
glue gun (low temp works just fine)
Start by putting a drop of glue onto the wreath & placing the end of the yarn on top.
Get to wrapping! I found that cutting the yarn into pieces about a yard long helped.
This takes a while. This is what I was left with after about 15  minutes of wrapping:
I did place glue at random intervals to keep the yarn from sliding around on the wreath too much. After completely covering the wreath in yarn, I cut hearts out of felt and glued them on top. I took a length of yarn & used it to hang the wreath.
Stay tuned the week before Valentine's for a series on candy making: Sweets for your sweetie!

This is also party of a link party