Search This Blog

Monday, October 1, 2012

Forgotten Chicken

I think by now you guys understand the love I have for my slow cooker. I've made this dish many, many times, but I tweaked it to accommodate my new allergy. I call it "Forgotten Chicken" for 2 reasons: 1) I can cook this when I forgot to take something out the night before to thaw for dinner and 2) it cooks unattended for a long time, like all day, so you can forget about it until it's time to eat.

Needed:
2 boneless, skinless frozen chicken breasts
1 can Rotel
1 can diced tomatoes
1 can black beans, drained & rinsed
1/4c taco seasoning
(I used to also add a can of white corn, drained)

Add everything to the slow cooker & stir to mix as well as you can. Set cooker to low for 8 hours.

Once you're back home from a long day at work, grab a couple of forks & shred the chicken. Stir again and eat. We used to serve it over tortilla chips. Now we eat it on flour tortillas with a little sour cream.

Now watch reruns of How I Met Your Mother on Netflix.

Monday, September 24, 2012

Brownie Batter Pancakes

Let me preface by saying this: I did not like these pancakes. However, I realize everyone has different tastes & someone else might like them. I got this recipe from a friend who had them & loved them...I'm starting to question our friendship.

You'll need:
1/2c AP flour
1/2tsp baking powder
2Tbsp dutch processed cocoa
2Tbsp stevia plus 2tsp sugar
1/8tsp salt
3Tbsp oil (or use applesauce if you're counting calories)
2tsp vanilla
2/3c milk

Mix the dry ingredients together.
Add in the wet ingredients.
Cook as normal.
The entire recipe (if you use applesauce) has only 300 calories. My husband loved them, but I'm not a fan. Proceed with caution!

Monday, September 17, 2012

Mango Passionfruit Lemonade

I saw something on pinterest about a passionfruit lemonade Starbucks sells. I'm not a big Starbucks person because I don't drink coffee, but it looked good. I thought I'd give it a try with my own little spin on it.

First, some research. I wanted to make sure this drink was worth trying to imitate.

Yeah, it's worth it.

I used Tazo's Mango Passionfruit tea. I boiled 32 oz of water & steeped 5 tea bags in it.

Then I added 12 oz of Chick-fil-A's diet lemonade (I swear they put crack in that stuff) and 1 cup of sugar. You can use any sweetener you want though.

Why diet lemonade then use sugar? I'm allergic to corn & I'm never sure what drinks have corn syrup in it. It's just out of habit really that I ask for diet. And by all means, feel free to make your own, but why bother? You know the stuff Chick-fil-A sells is soooo much better.

Verdict: HECK YEAH! Make this stuff! It's a little different because of the mango, but I actually liked it better than the one I got at Starbucks. Shoot, even making a cup of the tea itself was worth the $2.12 I spent. Enjoy!

Monday, September 10, 2012

It's been a while...

...but now I'm back! I had some health issues (I'm allergic to corn, who would have guessed!) and we moved! We're back in North Carolina along the coast & it feels great to be back in my home state!

I thought my first tutorial from my looooong absence should be one that's super cool & really helpful. So I decided to help you guys out with some HDR images!!! Aren't you excited?!

HDR stands for high dynamic range. You know how you take pictures of something and there are areas that are so white you can't see anything and other areas that are so black you can't see anything? I'm here to help! Now, this doesn't work if you're photographing people, but this is really great for things like...I dunno....a pier. (We have lots of those around.)

Keep in mind these directions are for Photoshop. Speaking of, have you seen this? Seriously, take a look.

You'll need:
camera
tripod
PS
time
patience

Trust me. Do not do this without your tripod.

Figure you what you want to shoot...like I said, I'm going for the pier. Set up your tripod...I'll wait...seriously don't do this without a tripod.

Set your camera to manual.


Figure out your aperture: do you want the whole thing to be in focus? I set mine to f/22 because I did.

Set your shutter speed to under-develop your picture. The scale in the viewfinder should look like this with your first picture:
Set your camera to a 2 second or longer timer (or use a remote) & press the shutter. Without moving the camera, change the shutter speed until your scale looks like this:

Press the shutter. Keep progressing through the scale in the same way with your scales:


Enjoy the rest of your beach visit:


Once you're home & nursing your latest sunburn, open the files in Bridge. Select the ones you want to include in your HDR image. To create the HDR image, go to your "Tools" button on the menu bar, go down to "Photoshop", then to "Merge to HDR Pro". Let the computer do its thing...it can take a while. Go get a snack...or reapply some aloe.


When you come back it will look like this:


From here you can use the little slider bars to adjust the picture however you need to. You can also deselect pictures that are making your picture look a little weird. Just play around with it & see what you like! After you're done, you'll have something that looks like this:


Keep playing with it & try other locations. I think it adds a whole other dimension to photography. I've been tweaking one for a few days now: 

I won't be posting as often as I have in the past, but I have set a goal for once a week for myself. My new recipes will have to be corn-free so that makes things a little more difficult.

Sunday, May 13, 2012

Mother's Day!

We got my mom a camera for Mother's Day, but I wanted to give her a little more "mom-based". So....I made her this:
I started with a plain white canvas-covered board. I used paint to put on my hand print on it, then put vinyl letters on top. It says "A mother holds her children's hands for a while, but holds their hearts forever."

Happy Mom's Day!

Friday, April 27, 2012

Strawberry Pancakes & Candied Bacon

My husband just celebrated his 32nd birthday! Yay! I made him a yummy breakfast of strawberry pancakes and candied bacon. The recipe for the pancakes came from Rachel Ray.


You'll need:
1 1/4c AP flour
2Tbsp sugar
2Tbsp baking powder
1/2tsp salt
1 large egg
1c milk
1/2tsp vanilla extract
2c thinly sliced strawberries

1/2lb bacon
2Tbsp brown sugar

For the bacon:
Line a cookie sheet with foil. Lay bacon flat and sprinkle with brown sugar. Cook at 350 for 12-16 minutes (depending on how done you like your bacon).
Once done, set aside.

For the pancakes:
In one bowl whisk the flour, sugar, baking powder, and salt together. In another bowl whisk together the egg, milk, and vanilla.
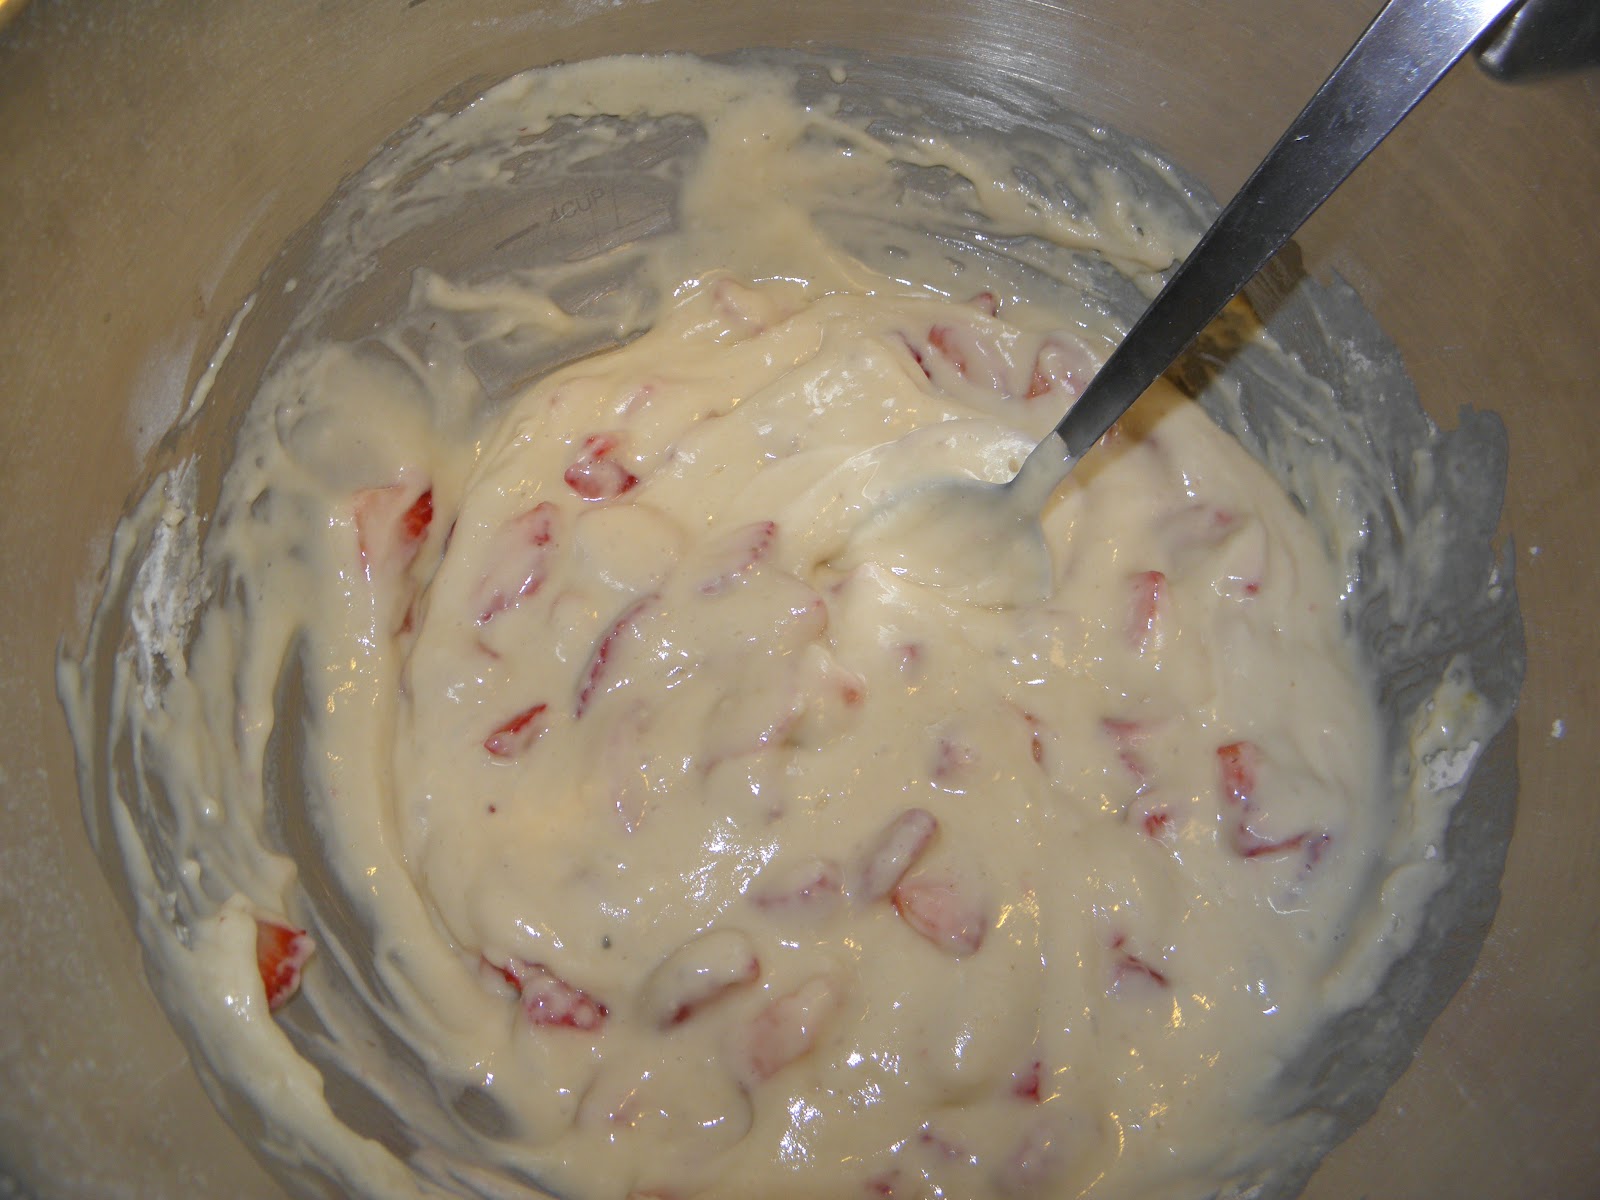
Whisk the contents of both bowls together until mixed well. Then fold in strawberries.
Cook over medium heat, as you would normal pancakes.
I served mine with whipped cream & more strawberries on top, but it's equally delicious with syrup or powdered sugar.
Happy birthday Mike!

Thursday, April 19, 2012

Magnetic Nail Polish

I know I've been gone a while, but I appreciate your patience and understanding. But now I'm back! I won't be able to do as many posts per week as I have in the past, but I will update at least once a week.

Now to my first product review! Completely unsolicited of course, but I was so excited about this I couldn't help myself.

I went to a local nail salon for a little pampering and found a really cool nail polish. It's made by China Glaze and you buy it here.
This is how it works: each polish is infused with iron powder so when you hold a magnet over the wet polish, the iron is drawn to the magnet. It takes longer than normal because you have to work one nail at a time. If the paint dries at all, it doesn't work. Also, you need to keep the magnet steady, but that's easy with the magnet from China Glaze because it allows the magnet to rest on the finger. You can't touch the magnet to the polish or it will come right off. Also, you can't apply a base coat. Your nails have to be clean, dry, and free of any other polish. You can put a top coat on though.

So, how does it look? See for yourself:
The magnet comes with 3 different designs: star, stripes, and chevron. I went with the stripes. There are also 6 colors, I chose "Drawn to You" which is a light purple.
I tried another color first, but I didn't like it once the magnet was placed over it. The polish dries quickly which is nice. It lasts just as long as regular nail polish, probably longer actually. I've done dishes, cleaned my house, and all other kinds of crazy stuff & it's still holding up well.

There are other companies that make magnetic nail polish, but I haven't tried those out yet. There are other magnets available with different designs as well. It was definitely worth it! I've gotten so many compliments and everyone is flabbergasted that the design was done with a magnet.